


My first official finished quilt for 2022 and my goodness, I so love everything about this quilt. It is of course another slow sewing project - English paper pieced - a process that continues to hold all of my attention. Hexagons especially are a favorite. I know they're not for everyone, as they can be tedious to piece with lots of stop/start seams. But I just love them, I could sew hexagons all day, every day right now.


This quilt is designed by Emma from Treehouse Textiles, and was designed for the 2021 Treehouse Textiles Block of the Month program. Late last year Emma sent me the pattern after I messaged her to see if the pattern would be available after the completion of the Block of the Month program. I started working on this quilt late November 2021 and finished the quilt top on 27 December 2021. Well, December was a month of joyous fabric play and stitching!

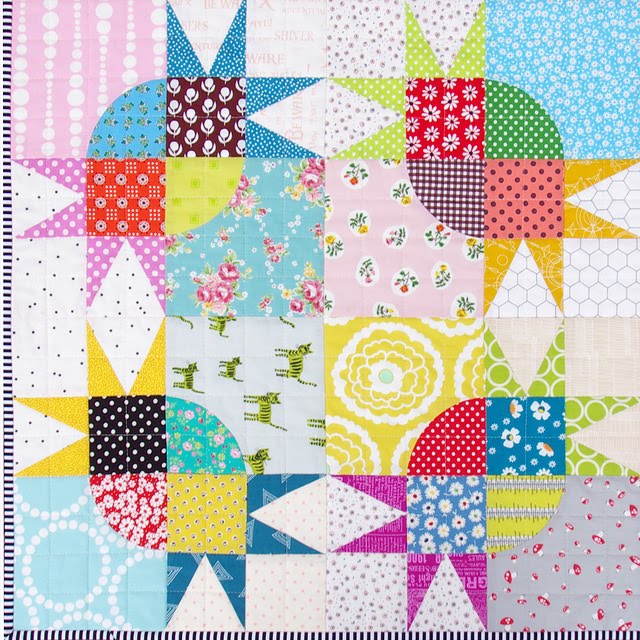
I think what really drew me to this quilt was the unique layout and the mix of low volume - light/white - background prints. It reminded me of my love for low volume prints and quilts, even if that means taking good photos is made so much harder! The light, especially in Summer, seems to bounce off the walls and off the quilt, and I as a novice photographer, I struggle to control it. With such quilts, the best I can do is patiently wait for the perfect day light; preferably a gently overcast day and those have been few and far between this Summer.


I have finished this quilt by machine quilting edge to edge straight vertical lines, spaced evenly across the quilt, and using the hexagon "corners" as a guide for keeping the lines nice and straight. I do actually enjoy straight line quilting! I know that must seem rather odd. I find it relaxing, and a nice way to spend some time with a quilt that I have already put many hours into.


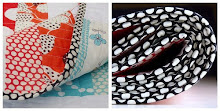
For the back of the quilt I have used a much loved and often used print: Newsprint from the Story collection by Carrie Bloomston. I have found this fabric so versatile, and the perfect backing fabric that works well with many of my quilts. I have more yardage of this fabric on hand!


QUILT DETAILS

Thank you Emma for the wonderful quilt design and the release of the pattern. With permission from Emma this quilt has rapidly been snapped up by a long time RPQ follower and special customer, and is now packaged and ready for a long haul journey. Sending off this special quilt is made all that much easier knowing it will be loved and used by the destined owner.


As always thank you for your interest in my quilts, and for scrolling through the many photos.
Rita